Data Backup Upload
The Receiver should Upload the Received Records by using this feature.
Navigation
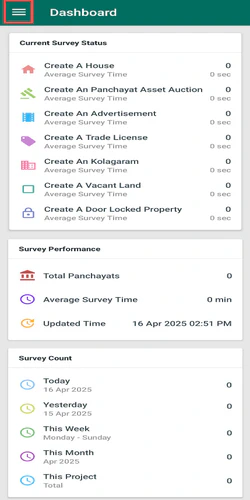
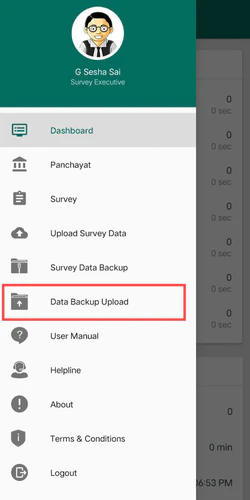
- Open the Menu on the top left corner of the Dashboard Screen.
- From the Side Menu, select the Data Backup Upload.
- After clicking on the Data Backup Upload, you will be moved to the Data Backup Upload Screen.
Title Section
At the top of the Data Backup Upload Screen, you will able to see the following information :
- Title : Data Backup Upload
- Menu : It is located at the top left corner and if you click on this, a Side Menu will be opened.
Details Section
Uploading the Received Records
- The Receiver can Upload only the Received records.
- The Screen displays the Data Backup List.
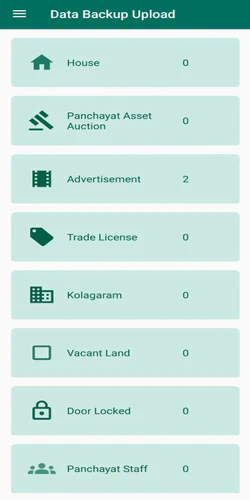
- Click on the Advertisement , you will be moved to Advertisement Backup Upload Screen.
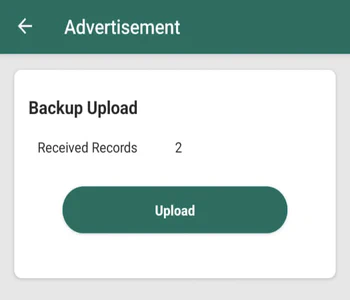
- Check the Received Records Count and Click on the Upload button to Upload.
- After Uploading, the Received Records Count will be reset to 0.